Need to upload a large website or give a developer access? Here is how to create an FTP account in cPanel and connect to it using FileZilla.
While the cPanel File Manager is great for quick edits, FileZilla (FTP) is better for uploading large folders or entire websites. To use it, you need to create an FTP account first.
Part 1: How to Create an FTP Account
Step 1: Log Into Your Client Area
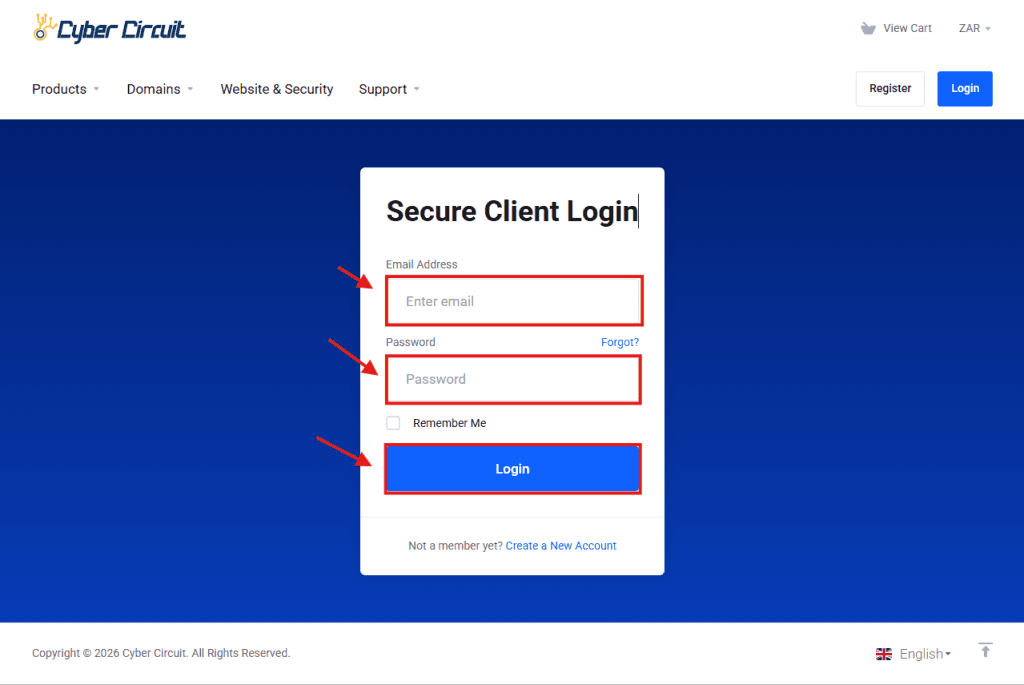
Go to the Cyber Circuit client area login page (https://cybercircuit.co.za/billing).
Log in using your email address and password.
Step 2: Log Into cPanel
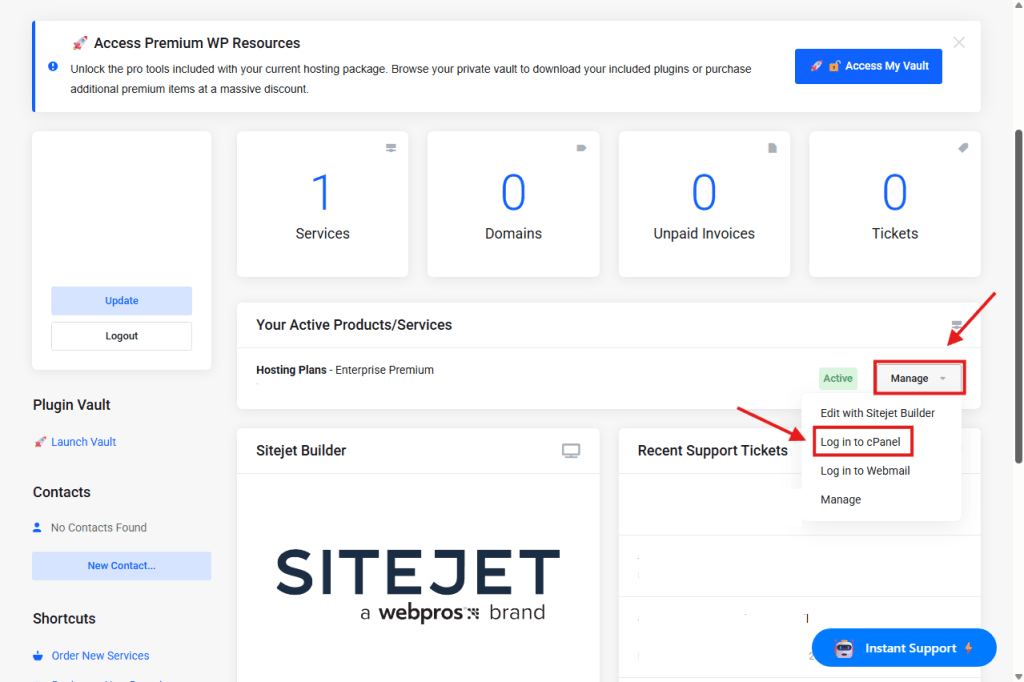
From your Client Area Dashboard, look for your active Products/Services.
Click the Manage button (or dropdown).
Select Log in to cPanel.
Step 3: Open "FTP Accounts"
Scroll down to the Files section.
Click on the icon labeled FTP Accounts.

Step 4: Create the User
You will see a form titled Add FTP Account.
Log In: Enter a username (e.g., developer or admin).
Note: Your full FTP username will be developer@yourdomain.co.za.
Password: Create a strong password (and write it down!).
Directory: ⚠️ Important:
If you want this user to access the whole website, erase the text and change it to just: public_html
If you leave it as default (e.g., public_html/developer), they will only be able to see that specific folder, not your main website files.
Quota: Select Unlimited.
Click Create FTP Account.

Part 2: How to Connect via FileZilla
Step 1: Get Your Connection Details
You will need these four things:
Host: ftp.yourdomain.co.za (Replace with your actual domain name).
Username: The full username you just created (e.g., developer@yourdomain.co.za).
Password: The password you set in Step 4.
Port: 21
Step 2: Enter Details into FileZilla
Open FileZilla on your computer.
Look at the “Quickconnect” bar at the very top.
Type in your Host, Username, Password, and Port.
Click Quickconnect.

Step 3: Accept the Certificate
A pop-up window labeled “Unknown Certificate” will appear.
This is normal. It just means FileZilla is checking your server’s security.
Check the box “Always trust certificate in future sessions.”
Click OK.

Step 4: Success!
Left Side: These are the files on your computer.
Right Side: These are the files on your server (your website).
To upload, simply drag files from the Left to the Right.